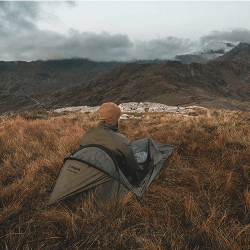
Using a Tarp, the Snugpak All Weather Shelter, for wild camping and other ventures can provide you with constructed shelter designs to protect you from various elements. One design for use in severe weather, particularly wind and heavy rain, is the low profile ‘Manta’ Design…
Follow the 5 Steps below, & you can construct a low-profile sleeping area, protecting you from wind & rain…
1. Layout the whole of the AWS in a diamond shape…
Peg one corner of the AWS into the wind – so that the wind and rain is blowing over the direction you are making the shelter.
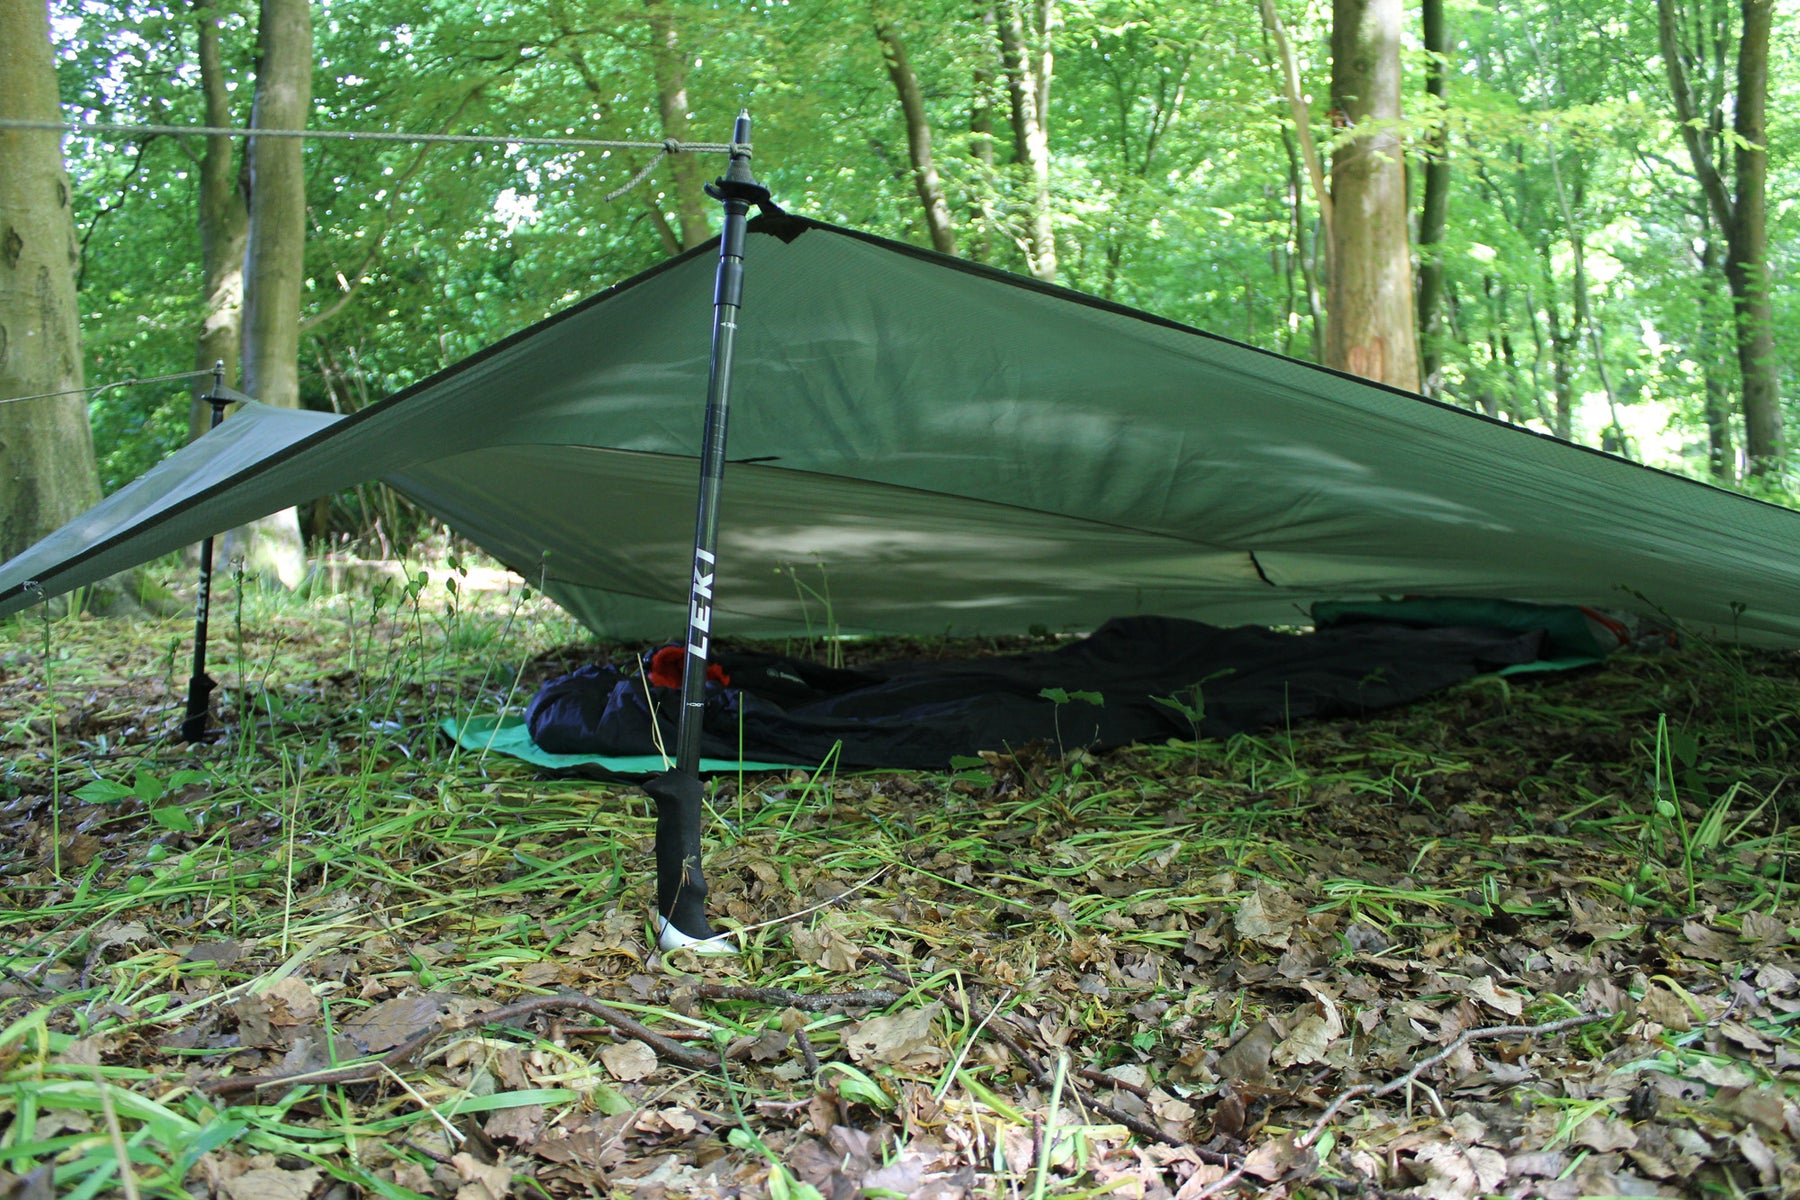
2. Now Place a Walking Pole 1/3 back from the front, creating a small flap..
Tension this with a guy line, but not too tight just yet, until you have completed the other side. Place the poles next to each other, one third back.
3. Do the same on the other side…
You will see the distinctive triangle from between the poles and the peg at the back of the shelter, creating a low-profile design.
Tension the guy-lines as tight as possible, in-line with shelter direction.
4. Peg Out the Sides of the AWS…
Now you can peg-out the back third of the AWS, enclosing the windward side of the shelter; this also creates enough space for the shelter to be breathable. Attach a guy-line to create a tail and lift up the main sleeping area. You will now see the distinctive Manta shape start to appear…
5. Bungee the Front…
Use a home-made small bungee and peg the front flap. You now have a shelter that is enclosed on 2 sides: Wind will flow over the shelter and rain will run down the back, keeping you dry.
ENJOY!
I have endured some epic nights out in severe weather using this free-standing design; including a cold windy night on the top of Ben More in Scotland on top of snow. The design allows wind to flow over the low-profile shape, and there is sufficient space for two people when using the AWS.


